 |
| Ready for Reapercon. Kuzaarik Stoneclaw Savage. |
One of the best things about this hobby is that it can bleed over into other parts of your hobby/interests. Whether I'm stealing techniques from my Radio Control Car and Boat past, or I'm using household materials to get something to work, it's fun for me to step outside of the accepted norms of the Miniature / Boardgame / Wargame world and bring something else to the table.
I was fortunate to have a father that was trained in carpentry. He's had a woodshop since the early 70s, and as a kid growing up without the internet, the shop was a place to play and doodle and build things. I don't maintain all of my father's skills, but just a little bit of it was passed on, and today I have a small glimmer of his woodshop here in my garage. And that lets me do some fun things.
Disclaimer: Power tools will kill you. You are responsible for you.
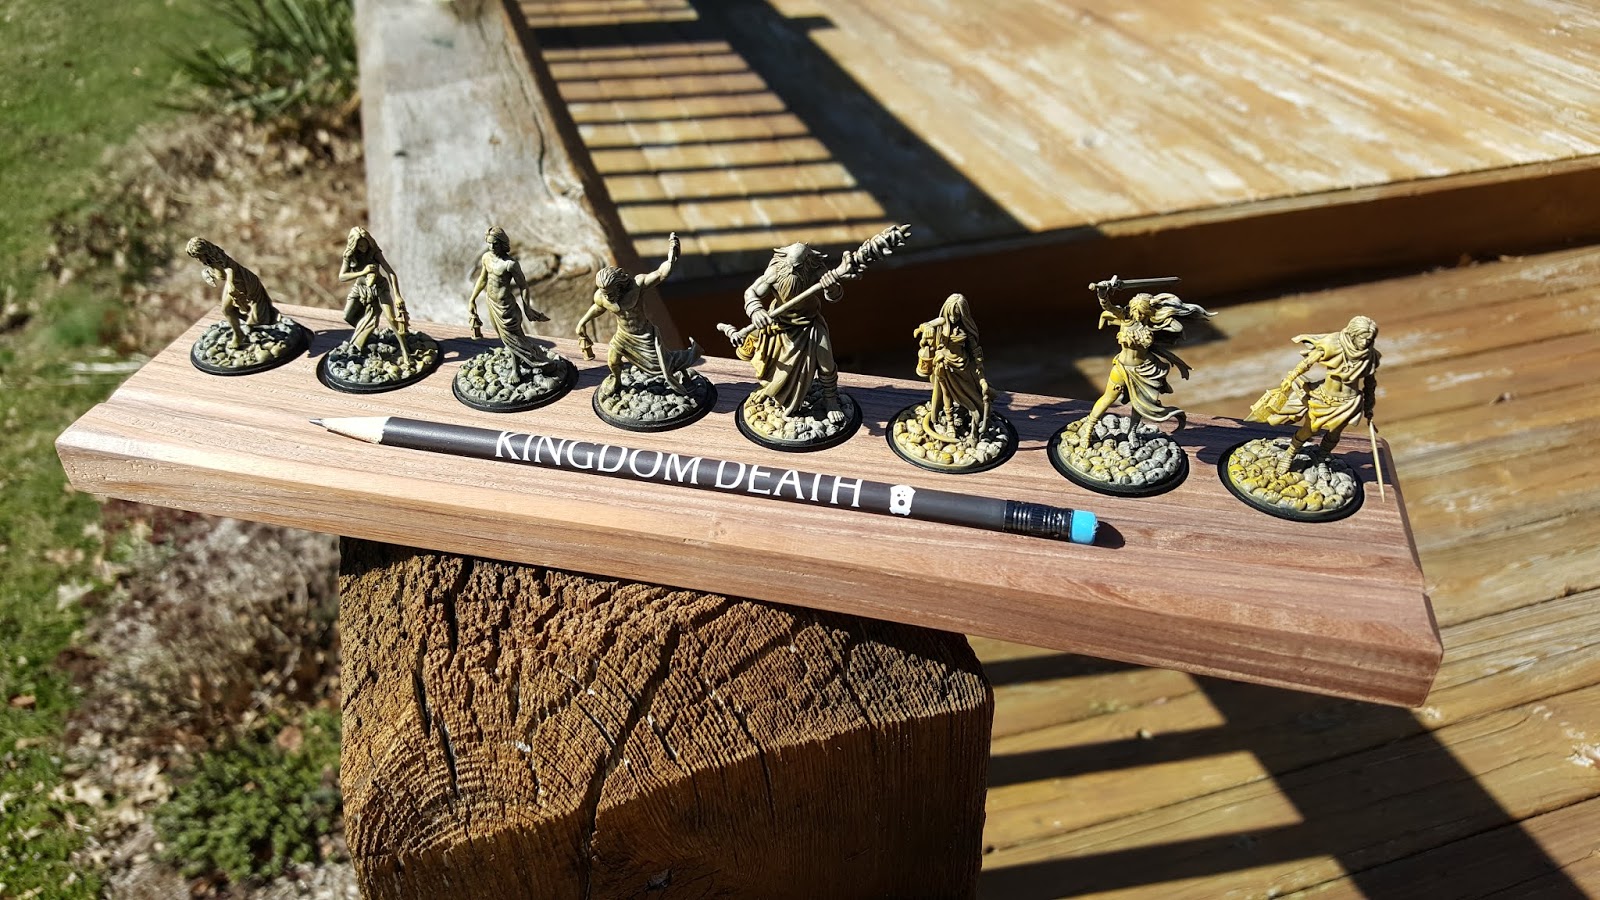
I kept it pretty simple and used the same template as other recent work -- I've done a few variations of this over the past year or so. This was the first time I've done a single figure base, and was the first time I worked with walnut.
 |
| Prior work; more complicated - Kingdom Death Character Tray in Bolivian Rosewood (shown here unfinished). |
Another quick note. Technically, you could pull this off with just hand tools and a cordless drill, and maybe you could adapt what I'm showing to the tools you have. That would be awesome. But for full disclosure, I'm relying on decent power tools. I used a table saw (with a high quality aftermarket blade), Ryobi router table, bench mounted belt sander, and a drill press.
With that out of the way, I'll let the pictures tell the story.
 |
| Source material: 1x3 Walnut. Can find this many places locally and online; I got this chunk from a reseller on Amazon. (Poorly cropped picture makes me sad). |
 |
| Square up the end (never trust the mill to give you a square edge) and then cut to length. In this case, I wanted a 3x3 square. |
 |
| I use Frog Tape (painter's tape) to help with marking and help control splintering when I bore out the center. You can see the faint pencil lines where I've found the center point. |
 |
This is a Forstner bit. Available in tons of sizes; I have several for the common miniature base diameters. Individually the bits are cheap (~$15) but add up. People online complain about the quality of these cheaper bits -- go slow and use a reasonable RPM to avoid burning and tearing.
 |
| Center is now counterbored for the base. I size the bit to be just a little bigger than the base. For this piece, I eyeballed the depth, but for a tray with multiple miniatures, you will want to use the depth stop to make sure they are all even. I remove material to find the sweet spot where the mini and wooden base look integrated, but not so deep that the mini's base is swallowed into the wood. |
|
 |
| Add a chamfer with the router table. I tend to use a simple 45 degree bit vs. something more fancy. Sanded with 220 grit sandpaper and otherwise ready to apply finish. Working at a casual pace and taking time to play with the cat, total elapsed time from start to here was less than 45 minutes, including the time it took me to pull the table saw and router outside. |
 |
| Two coats of polyurethane, and self-stick felt feet underneath. |
 |
| DONE. |


No comments:
Post a Comment