 |
| White Lion - Ready for a punch in the nuts. |
Overall process was very similar to the Starting Survivors, so I won't re-type all of that and just
refer you there.
I should note that I spent a lot of time trying to cover the seams along the center of the body and the tops of his hips. I wasn't after perfection but wanted to hide them better than I normally do.
Otherwise, only the colors were different, as follows:
Vallejo Surface Primer - Black
Zenithal highlighting in 3 steps
1) ArmyPainter Necromancer Cloak
2) AP Wolf Gray
3) AP Gorgun Hide
 |
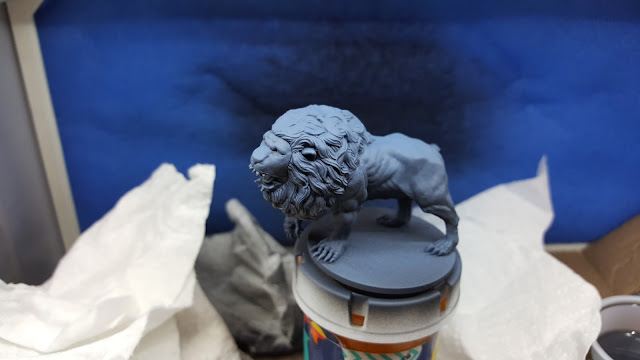
| Vallejo Black Surface Primer |
 |
| AP Necromancer Cloak, shot parallel to the table and sweeping up to vertical. |
 |
| Building shadows: AP Wolf Gray from about 45 degrees to vertical. |
 |
| Building shadows: AP Gorgon Hide shooting mostly straight down. |
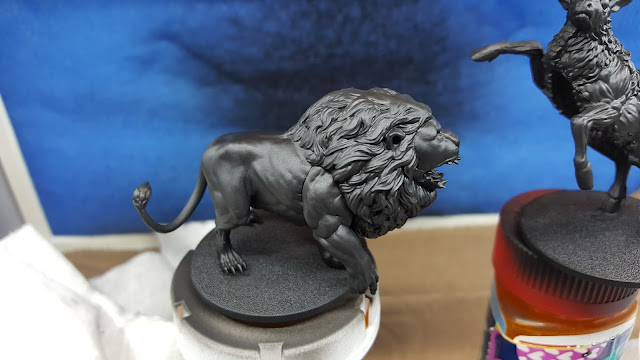
After I sat the airbrush down, things were looking good and it was time to wash: Reaper Black Wash, unthinned
*record skipping sound*
This is where the wheels fell off. Shame on me for using an unknown product on a flagship model without testing. The Reaper wash is awesome but was both thicker and more opaque without any thinning compared to the AP washes I was used to. The result was a very black lion - my careful zenithal highlights were basically gone.
In areas with a lot of texture (the hair/mane) I still got some Gorgun Hide showing through, but the smooth parts were basically painted black. It was a very *interesting* black - it shimmered and was semi-translucent at the painting desk, but under normal table lighting it was very very dark and (to be honest) pretty blotchy in a few areas.
So, now what? First boss of a several-hundred-dollar game ruined? Not hardly. Dealing with
Bel'ial earlier this year taught me a few tricks.
I got the airbrush back out and very carefully dusted the top of the body with AP Wolf Gray. In 30 seconds, I brightened the entire model up and covered the blotches.
 |
| Here's the mane after the wash and after some correction highlights on the back of the body. |
Dry Brush: Gorgun Hide. This went well overall, but I got sloppy in a few areas. Gah, more fixing required.
Dry Brush: AP Crystal Blue for an ethereal glow around the mane. I did this in several passes and tried to get the blue to be more intense towards the face. Initially I hit the face pretty hard in Blue too, but went back over it with some Gorgun Hide, leaving (mostly) just the mane blue.
Re-Wash: I mixed the Reaper Black Wash 50/50 with distilled water and carefully blended some of the Gorgun dry brush that came out messy, and parts of the mane where there was overspray from my airbrush touch up. I also rewashed the face to reduce its brightness and bring some of the details back out.
 |
| I didn't take pictures of all of the correction work - it progressed really quickly. But here's the finished product. In this light the blue looks VERY BLUE, but under other lights it looks more gray. |
Some people would gloss over the things that gave them trouble. Painting these little army men is not always all rainbows and unicorns. Shit happens.
So, Mr. Lion was a little less straightforward than I'd planned, but I learned something about a new product and I'm happy with the result! Depending on the lighting (natural sun, LED, incandescent) he's either very blue or very gray. The Wolf Gray is an interesting color for that.
 |
| Warm colors for the Survivors, Cool colors for the bad guys. |


