 |
| The last of the "core" KDM Survivors. |
Aha, finally! The last of the 8 "core" survivors/heroes for Kingdom Death. After this, there are ton of sprues for the armor sets, but I'm not assembling them right now. January and February were slow months for my painting progress, but I finally (finally!) got these off the table to complete the series of 8 survivor figures.
I'm following a set of self-imposed color rules for my KDM set. If this is your first post in the series (see
summary page), here's the part that I copy/paste:
-----
Color Choices: For my KDM set, I'm using an airbrush to provide shadows in a pseudo-statue, almost monochrome paint scheme. I want a lot of high contrast from light to dark, with near-black in the shadows and near-whites in the light. I'm using warm colors (creamy grays, buttery whites, and a bright mustard yellow) for the SURVIVORS and cool colors (blue-grays and a neon blue) for the MONSTERS.
-----
Assembly Notes:
- Overall, not as difficult as Young Rachel, but both of these figures have quite a few small parts. I followed Vibrant Lantern (Male, Female), and referenced google images, as there are no official build notes.
- There are quite a few mold lines through smooth areas, especially on the legs. Be careful to remove them all. Some of them are difficult to get to after other parts are installed. You've been warned. :) :)
- I used Vallejo Plastic Putty and Matt Varnish to fill gaps, working in layers. These are small areas and these products worked well. Just blend the edges with a wet brush or you'll get ponding marks.
- Male Survivor: During assembly, I ended up with some gaps in the Male Survivor's jerkin/tunic/thing and at the thighs where the Z-joint was showing.
- Female Survivor: Gap in her hair, and across her lower back, and a scratch in her butt from mold line removal (oops).
- As usual, I did the best I could with filling and then hit the figures with a coat of primer to see what was visible. Then I did a 2nd pass with the varnish to clean up before continuing.
Painting:
- (Airbrush) Vallejo Surface Primer, Black
- (Hand Brush) Vallejo Surface Primer, thinned a bit, touched up a few places that are hard to get with the airbrush
- (Airbrush) ArmyPainter Necromancer Cloak, sweep the airbrush 90 degrees from vertical to parallel with the table.
- (Airbrush) 50/50 mix of AP Necromancer Cloak and Skeleton Bone, sweep the airbrush from vertical to about 45 degrees with the table, highlighting areas that should be brighter
- (Airbrush) AP Skeleton Bone, mostly straight down and a few highlights
- (Hand Brush) AP Phoenix Flames on the lantern's glass
- (Wash) AP Soft Tone Ink, thinned about 5:1 (5 drops ink, 1 drop distilled water)
- (Dry Brush) AP Skeleton Bone
- (Dry Brush) AP Phoenix Flames
But you came for the time-lapse airbrush pictures, so here you go!
 |
| Assembled models, front. |
 |
| Assembled models, back. |
 |
| Vallejo Surface Primer, Black. |
 |
| AP Necromancer Cloak. I love this color. Sweep from above the model to parallel with the table, never "up" under the clothes/arms. |
 |
| 50/50 AP Necromancer Cloak and Skeleton Bone. Sweep from vertical to about 45 degrees from the table, then start giving brightness to where the lanterns will light. (The female doesn't have her own lantern, I'm pretending she's standing next to someone). |
 |
| AP Skeleton Bone has been shot from the airbrush and I'm basecoating the lanterns. |
 |
| Wash applied. |
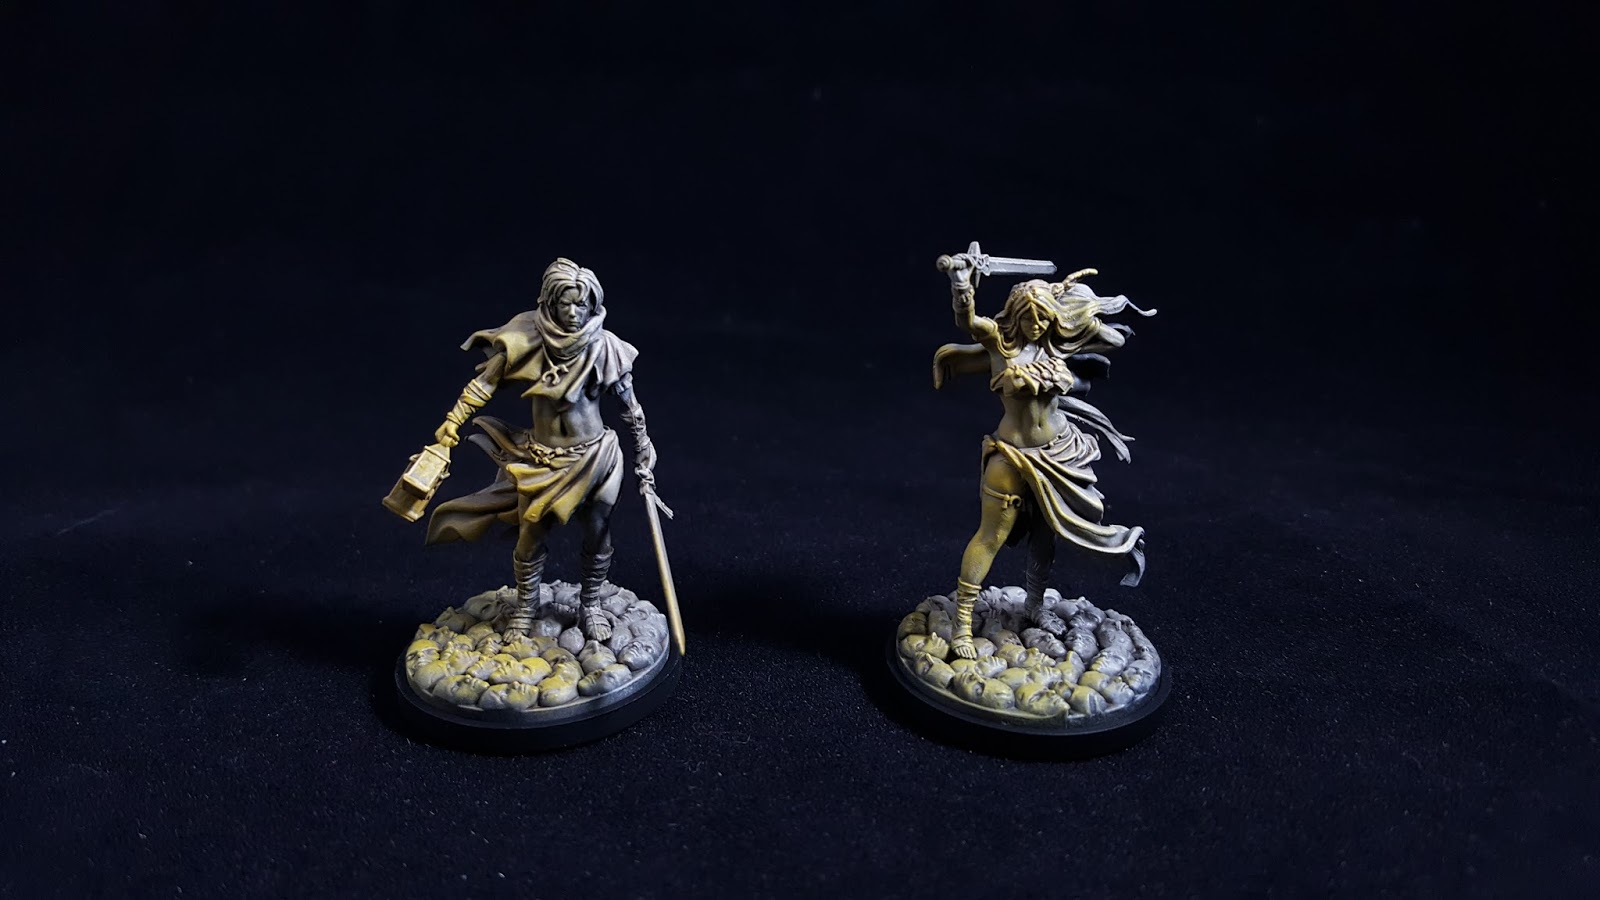
 |
| Finished models, front. Dry brush with Skeleton Bone and Phoenix Flames. |
 |
| Finished models, back. |
 |
| Group shot. I did get a little brighter as I worked the series. Somewhat intentional; the starting survivors start in a much darker world. |


No comments:
Post a Comment