 |
| Brimstone Dark Altar |
This is the Shadows of Brimstone Dark Altar, which was originally available at GenCon 2018 and subsequently available on the FlyingFrog web store. He's a cool terrain piece, and seemed pretty straightforward, so I bumped him up the line and got him straight into the paint booth.
This isn't intended as a detailed how-to, but I'll try to walk through the process with pictures.
 |
| Typical start - Stynlrez black primer. I have him attached to a large pill bottle lid with some blue-tac. Right here there's no highlighting added, it's just the reflection of the harsh booth light. |
 |
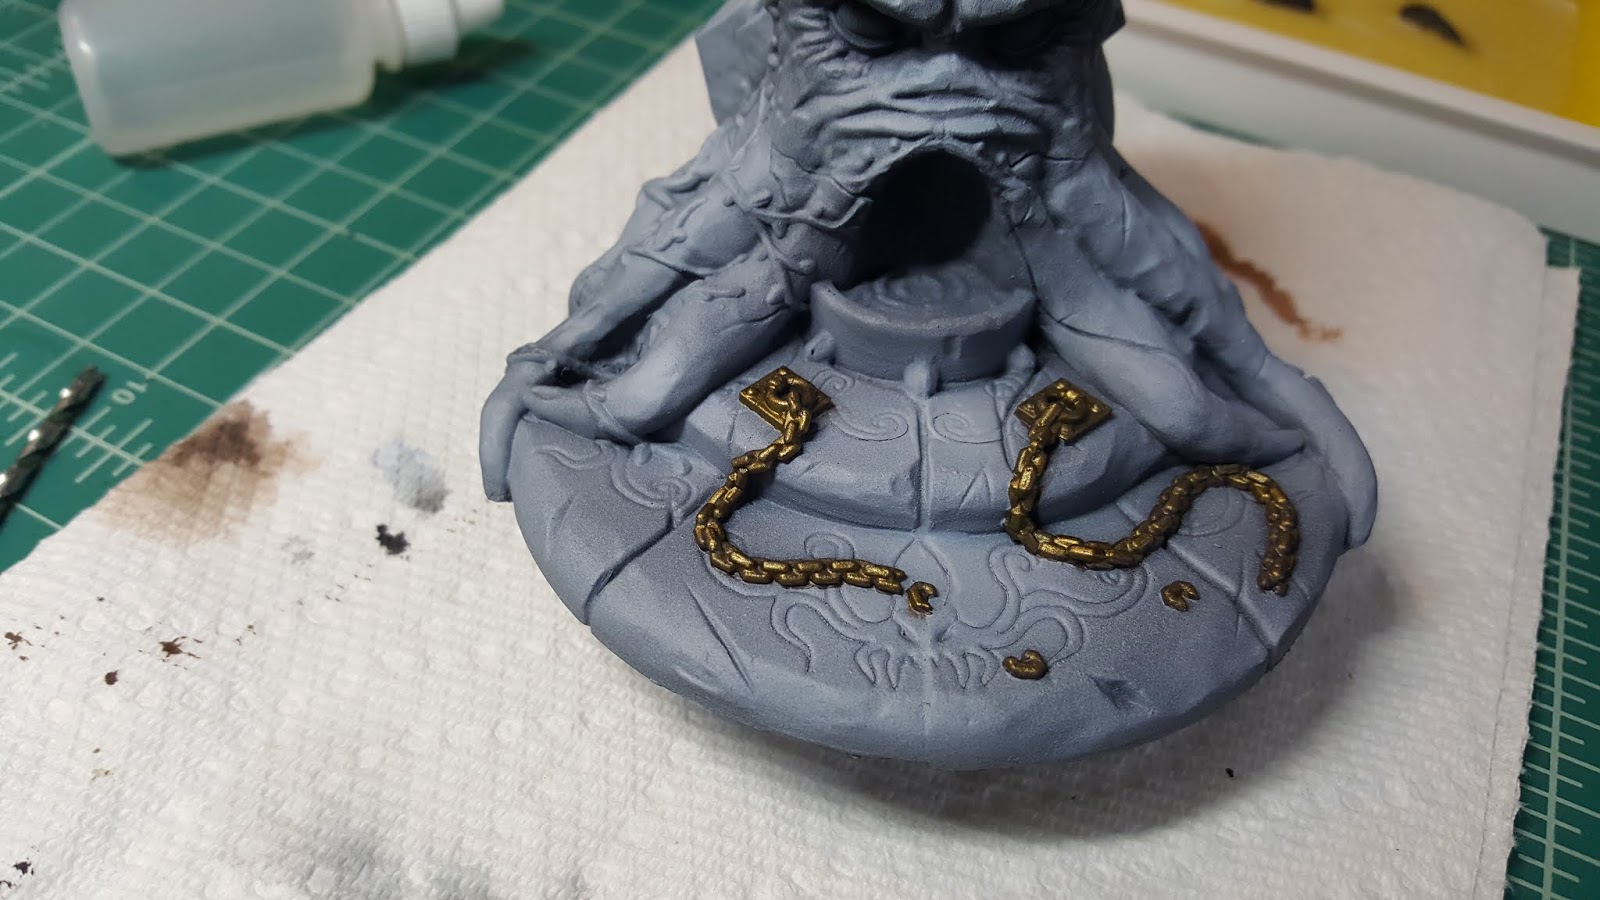
| Chains basecoated (wet blended) with Scale75 Necro Gold and ArmyPainter Dark Stone. I've really loved the S75 golds I've used, and the Necro pairs perfectly with the Dark Stone. |
 |
| Wider shot showing the overall progress. The blue-gray was a 3-color build up of AP Necromancer Cloak, Uniform Gray, and Gorgun Hide. This is the same color stack I used for my Kingdom Death bad guys. |
 |
| Reverse shot. I was going for a lot of stark contrast from light areas to dark. |
 |
| The vines were basecoated with AP Brown Stone and Oak Brown. Then, I gave the entire "octopus head" a coat of Reaper Black Wash (thinned a bit), and here I'm showing the base, which I washed with AP Strong Tone. |
 |
| At this point, I got the Sotar2020 out and very lightly re-applied highlights in Gorgun Hide. I didn't take a picture, but I also hit the lips of the steps with AP Skeleton Bone (also with the Sotar). I also started shooting a few inks to push the recesses - Liquitex Carbon Black and Burnt Umber. |
 |
| Applying pre-shading to the rocks in the back. I wanted these to be glowing Darkstone and lit from beneath. |
 |
| I really fussed with the rocks, working back and forth with hand-brushing, airbrush, airbrushed inks (AP Purple), and paints. Very trial and error. |
 |
| Almost done. Here you can see the weathering I've applied with inks. The chains have been re-highlighted with S75 Dwarven Gold. The glowing rocks are about done. |
 |
| Rocks, done. Not as 'glowy' as I intended, but I wanted the octo-face to be the brightest spot on the model. |
 |
| Ultimately, the trick with the rocks was to really provide a strong outline with some hand-brushed edge highlights and some careful application of AP Strong Tone. |
 |
| Finished model, side. Before applying the eye glow, I spent some time applying highlights by hand to his warts, veins, and wrinkles. |
 |
| First time using blood FX. Perhaps overkill but wanted to indicate recent use. |
 |
| Finished Model. |
If I were using this as a contest piece, I would have omitted the eye glow or done something different. Comparing this picture with the ones above, the un-glowed verions are perhaps more "pleasing" but wanted to convey how evil this place was. That chewing-on-tinfoil mental gnashing your brain is doing is somewhat intentional.
Like any project, I learned a few things, screwed a few things up, and would do a few things differently. I was really happy with how the Liquitex Burnt Umber and AP Purple ink combined to make a really pleasing golden brown. I liked the amount of contrast, shading, and weathering I did (though I really could have gone crazy with some water drips and runs). The eye glow - despite the color - was really easy to do and is a technique I'll apply to gems, engines, and other glowy things down the road.


No comments:
Post a Comment